
Weekend Pottering
Have you met our very old, clearly unloved and ok, a tad embarrassing director’s chair (see photo insert below)? Perhaps you have one just like it! This chair, was the odd one out, the very sad ring in especially needed for BBQ's/ dinner parties?? I know! It was playing the part of the sixth balcony chair, where five of those six chairs matched and it did not. Naturally and understandably it hid at the very far end of the table.  |
| well if you must... meet our old directors chair |
 |
| Our new re-upholstered directors chair |
Directors Chair Revamp Tutorial
Requirements:
1 x Directors chair
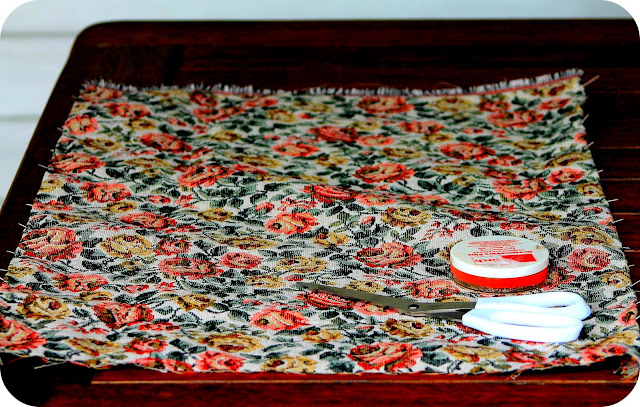
A 1/2 metre of Canvas (recommended) or upholstery fabric (it needs to be a heavy duty fabric that will not stretch or tear easily).
Scissors
Pins/ Measuring Tape
Sewing Machine
Staple Gun
Wood oil
Pattern: Reupholstered Deckchair
Cut a 1 X 28 by 10" piece of fabric (chair back support)
Cut a 21 by 19" piece of fabric (lower chair support)
*It is recommended that all listed measurements be checked as directors chairs can vary in size. *If you do use a light upholstery fabric, you will also need to line with a heavy duty lining, cut measurements as listed above.
Method: Upper chair back support
Remove all existing fabric from deckchair
Grab your 1 X 28 by 10" piece of fabric
Pin/ Sew (straight stitch) 2.5cm /1" seams along your the width of the fabric
 | ||||||
| Chair back support/ Cut 1 X 28 by 10" and sew 2.5cm seams |
Measure/ Fold Upper chair fabric around the two arm chair poles and pin un-hemmed edges at the back of the chair, making sure they cannot be seen
Straight stitch down the length of material where pinned to form 6.5" loops at each end
*FYI The middle section of the back support, the part in between the seams will be aprox 14")
Place loops over the upper arm chair poles
 |
| Upper back of chair 6.5" seams |
Staple gun, material in two places on each arm pole to keep upper chair fabric in place (see image below)
 |
| Staple loops in two places to the upper arm chair poles |
Lower Chair Support
 | ||||||
| Lower chair support/Cut 1x 21 by 19" & sew 2.5cm seams |
Grab your 1x 21 by 19" fabric
Pin and Sew 2.5cm /1" straight stitch seams along the width of the fabric
Place fabric width ways along the seat of the chair, making sure it is placed directly center
Fold Directors chair up like you are going to put it away, this will make it easier for you to staple the ends (un-hemmed) to seat/ lower chair supports
Fold each un-hemmed end under and staple along each of the seat supports (as seen below)
 | ||
| Staple gun along each of the seat supports |
Finally, just to finish it off with a touch of glam. Grab a rag and use a wood oil or stain in your chosen colour. Rub on lightly to the wood being careful not to touch the fabric. Add more colour as needed/desired. YOUR DONE! x
 |
| Before and after shots |
3 comments:
Very cute! I would never have thought to recover that sort of chair.
How nice of you to say, Thankyou William!
Post a Comment